My Wood Finishing Troubleshooting Cheat Sheet: Surface Prep


A couple weeks ago, I shared tips on adjusting for seasonal weather changes to ensure your finishes come out the way you want.
(A big thanks to Brian M., Mike L., Larry M., Chris D., Bob M., Jeff S., and Paul K., who shared their comments and kind words!)
Of course, there are plenty other potential snags that are NOT climate related.
Over the past 30 years, I’ve responded to hundreds of troubleshooting questions, and, in the process, developed a 5-step “cheat sheet” to find the root of most problems.
Let’s look at these, one by one, starting with my Surface Prep tips to see how they affect the quality of your final finish…
Step 1: Surface Preparation
- Thoroughly clean the surface with a solution of water and denatured alcohol mixed 1:1. This will ensure that the surface to be finished is free of oil, dirt and ambient contamination before the final sanding for the finish application stage. There is nothing worse then finishing a contaminated surface.
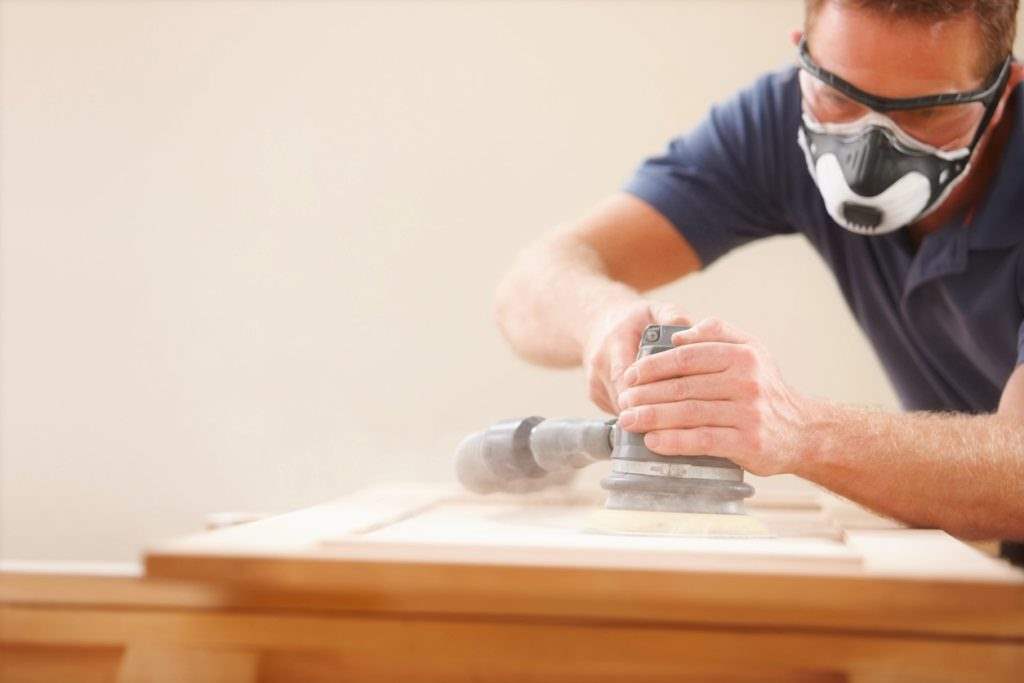
- A pre-finish sanding with a quality grade aluminum-oxide (AO for short) sandpaper is recommended to allow for sealers or stains to properly perform on the unfinished wood. Various wood species require different pre-finish preparation to tighten the wood grain. The water/alcohol cleaning mentioned above (no. 1) will not just clean the surface but will also raise, or “pop” the wood grain, which is then sanded to the appropriate schedule based on the wood species being finished. An example is pre-sanding maple – which should be sanded with 320 or 400-grit AO sandpaper to tighten up the grain. Also, sanding-dust removal is critical. We will touch on that subject in future posts.
- For a finish that required a stain application, you need to make a test panel to see how the stain will behave on the species you are finishing. All wood species react differently to dye stains and pigmented stains. The best way to determine how you want to fi

EM1000 Universal Sanding Sealer nish the project is to make a storyboard that confirms and illustrates your finishing procedure before you take it to the final project.
- Apply a pre-stain sealer to control grain blotching. Many wood species, such maple and cherry, will show a dark, blotchy image in the wood grain when a dye or pigmented based wood stain is applied. The best way to control grain blotch is to apply a pre-stain sealer. This sealer can be made by reducing our EM1000 Universal Sanding Sealer with water by 50%. The purpose of the pre-stain seal is to penetrate deep into the cell structure of the wood grain and to seal off the blotch pattern. This step allows the wood stain to sit a bit higher up on the wood fiber but still perform the task of color adjustment.
- Sneak up on those clear coat applications. What I mean by this is do not apply heavy, wet coats of the water-based clear coat you plan to seal and topcoat with. My mantra has, and will always be, “More thin/light coats versus fewer heavy/fat coats.” By carefully building your clearcoat applications you will obtain better clarity and have more control over your finishing process.
And–most important, DO NOT RUSH YOUR PROCESS! Be patient and go slow…
I hope the above tips on surface preparation help you achieve the finish you’re looking for.
If you’re confident surface prep is not the reason for your finishing issue, stay tuned and watch your inbox for “Step 2: Stain/Topcoat Compatibility.” I’ll be sharing each of the remaining steps of my 5-Step “Cheat Sheet” over the next few weeks.
In the meantime, do you have any good surface preparation experiences or advice? Please share your thoughts or read what others are saying in the comments section below!


Enjoyed your tip on surface preparation. Question: When would you use EM1000 as a a pre stain conditioner as opposed to Ultra Seal WB shellac? Hoping for a reply. PS: your products are GREAT!!!!!
Vern – Thank you for your interest and good words. I tend to use the EM1000 as a pre-stain seal because it is less prone to solubilize into the stain or clear coat that is being applied over it. I see better color control/management when using EM1000 compared to the USH3000 Shellac. I this info is helpful. -JW-
pretreatment for quilted maple with jatoba trim. looking to do just clear coat but want the quilt to show well
Lawrence – Now this is a case where I would use the USH3000 Shellac Sealer to enhance the grain color/image/pattern of the wood being finished. USH3000 imparts a warm amber tone and will really penetrate deeply into the cell structure of the wood fiber. Yes, EM1000 will do the same – as its resin clarity is unique and really enhances optical clarity. They both have their own strong-points, so make a test sample with each and you can judge. Which ever you choose ensure that you move up in the sanding grit schedule to polish the grain fiber. This will really pop out the pattern. -JW-
Great checklist! Nothing in my experience to add other than use light pressure on grain you have raised so you nip off the raised grains vs pushing them back down. Also, Heavy sanding will take you past the raised grains and you will find you have to sand your next dye or seal coat ( example sequence: sealer, dye, sealer, next color dye, sealer, etc). Patience is the key!
Thank you Joe! Spot-on about maintaining even, light pressure when sanding. -JW-
Jeff, thanks for putting this article out there. Always good to learn how other people approach the Alchemy of finishing.
I would like to see information on step by step information on applying” pigmented ” finishing using your products. From sealer/primers , solid color topcoats , to final clear coats.
Thanks again.
Michael Aufiero- Shrewsbury Craftsmen
Michael – You bet! As soon as our new spray booth is approved by our local code official I’ll be making video and still-image tutorials. A pigmented finish procedure ho-to is on the list. -JW-
I always have trouble finding the right spray thicknesses. I spray to light and it doesn’t level out. When I spray heavier I have trouble knowing what is thick enough but not heavy. Any advice would be appreciated
Bill – I think you need to review your tip set sizes and obtain a wet film thickness gauge. The right tisp size will give you better fluid volume and the gauge will help you see what the thickness really is, which help you set your hand/eye during application.
-JW-
The dreaded blue haze over dark stains? Visible when indirect or direct sunlight is on surfaces. Visible with walnut dyed with van dyke brown water based pigment. Then top coated with 3 coats light to medium wet coat flat Em9300. Semi force dried with medium wave IR lamps and air movement. Any solutions and tips would be appreciated.
Chris – Blue light transfer can be a common problem with water-based systems when applied over dark colors during the early stages of film cure. The ambient light gets caught and bounces through the acrylic resin and gives off a blue haze. It is an anomaly that can happen with all WB’s during certain stags of the cure and at various dry film thicknesses. I know it is frustrating because I have been dealing with it for 30+ years — it does not happen at all times or on all applications, but when it does it tends to be over dark stains. One trick that I have found that works, which is time consuming, is to wipe the last coat with the constant go-to water/dna blend , no sanding required, just a chemical wash. This tends to shrink the coating down and melts it all together, which tightens the dry film thickness and reduces/eliminates the light bounce inside the film.
-JW-
Hi Jeff:
Wiping the sanded surface with the 50-50 mix raises the grain. Then you sand the raised grain. What’s your method of removing the sawdust after this sanding? I do vacuum, is another wipe needed? thanks, steve
Stephen – Sand,vacuum and then wipe-down again.
-JW-