In Part 1 of this post on buffing and polishing water based finishes, we covered:
Tools you’ll need …
Topcoat selection…
Fixing finishing errors…
The right way to polish.
Today, we’ll cover buffing and waxing.
So, let’s jump right in.
Buffing – This is Where the Magic Begins
Replace your polishing pad with a new buffing pad.
I like to label my buffing pads so I don’t get them mixed up and contaminated with dissimilar buffing material.
Using a kitchen knife, lightly dip into the medium-coarse polishing compound as you would a butter dish, pick up a very small amount, then smear it onto and all around your pad.
Set your machine to its low-speed setting and go over the entire surface just as you did when polishing.
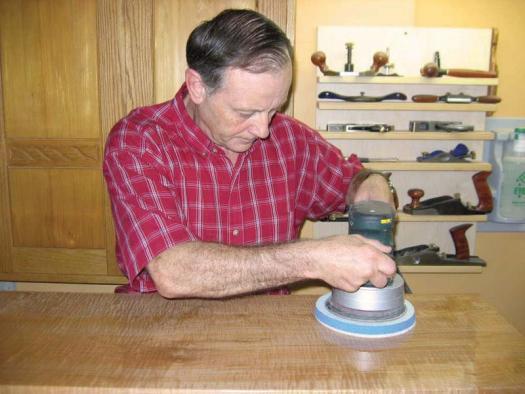
Friction will cause the pad to heat up and become sticky, causing resistance as you move along.
At this point, you may increase the rotation speed slightly; however, it is very possible to burn the finish, so don’t turn it to high speed or you’ll run into trouble.
You should be able to cover the entire surface for all but a large table without applying any more buffing compound.
If a shine does not begin to appear, you need to smear on more compound.
With this first pass under your belt, look after buffing the edges. If dealing with a complicated edge (a non-square or simple chamfer), in most cases you should be able to use the buffing pad’s edge by turning the machine speed down to its lowest rotation speed.
Of course, load up the edge with compound before doing this, or you’ll surely burn through the finish in no time flat.
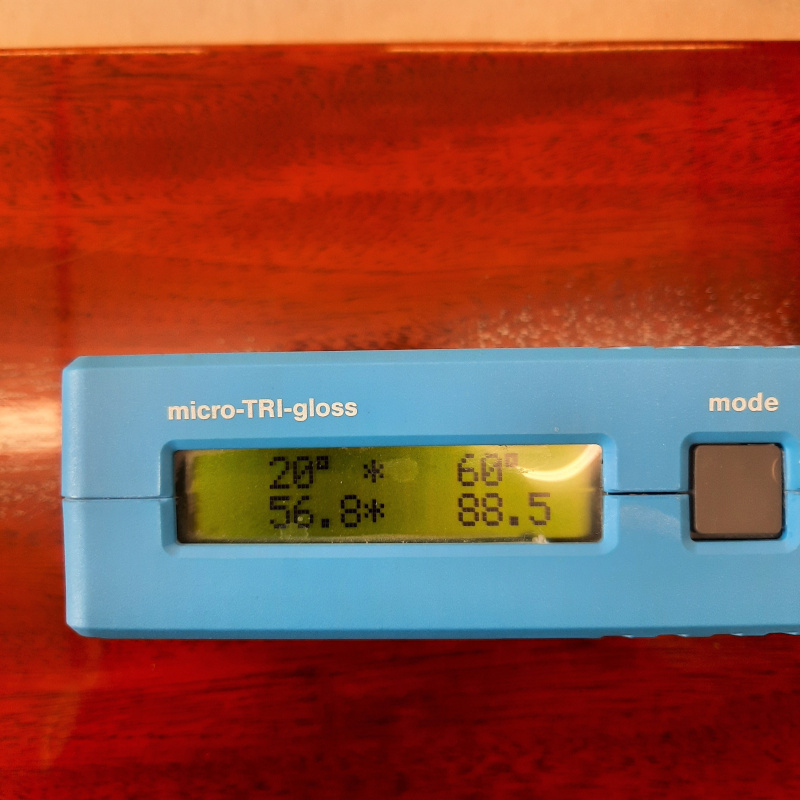
Take a good look at the results you’ve achieved thus far; if you feel more gloss is called for (you can measure / confirm with a gloss meter; see below), then replace the buffing pad with a new one and apply your finer polishing compound and give it another go.
Again, be very careful not to get caught up in the process and buff right through the finish, as it can become quite intoxicating to see the deep, mirror-like finish appear. More doesn’t always translate to better when it comes to buffing.
After you’ve completed this second round of buffing, again take a good look at your handiwork. If the finish appears too reflective, you may wish to revert to your first pad and “buff down” the finish to a lower gloss level.
That’s a unique feature with buffing: it can be played around with until you’re fully satisfied.
Waxing – The Finishing Touch
Once I’ve finished with the buffing stage, I like to apply a layer of wax.
My all-time favorite is beeswax, but whatever wax you elect to use, choose one free of polishing grit and one that dries hard.
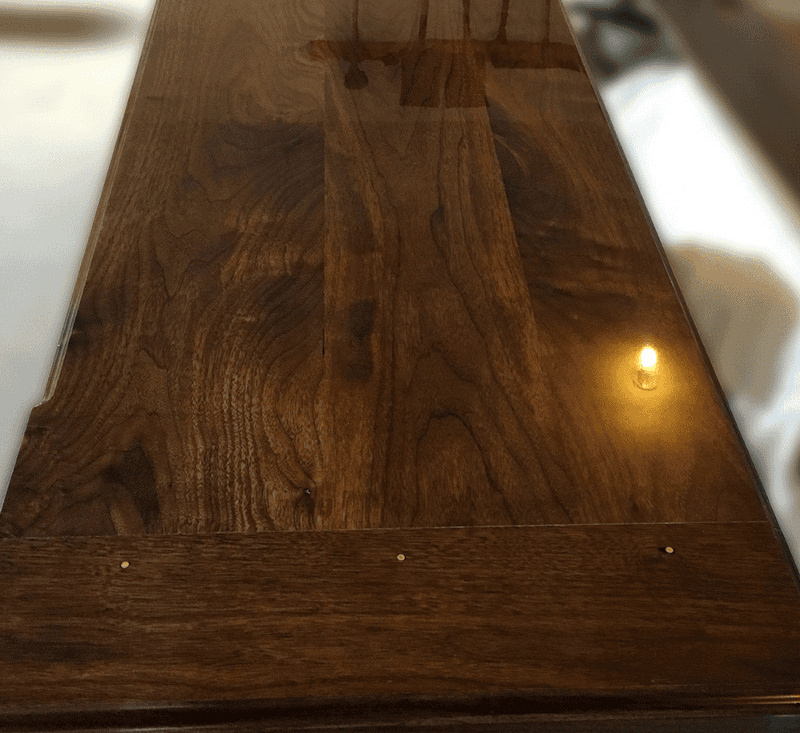
Apply it sparingly with a clean cloth, allow it to dry until hard, then polish it using either a fresh cloth or a fresh buffing pad designated for this specific purpose.
As the weeks turn into months and small scratches appear, a fresh waxing may be all that is required to renew the surface.
It’s been said, and rightfully so, that the correct finish on a piece of furniture, properly applied, will enhance its value.
When a deep gloss and mirror-like finish is called for, by following the advice outlined here, you should be able to achieve professional-level results, with a minimum amount of effort.
Questions or comments about buffing and polishing water based finishes? Please share your thoughts in the comments section below and I’ll reply to as many as I can.


Mind sharing what buffing compounds you recommend on target coatings finishes? Thanks!
Zach – Here is a reply to your question from Marty Schlosser.
I’ve been using Menzerna products for several years now and find them to be excellent. As you can see from the attached photo, I use their Professional Line Polishing Paste. Here’s the specific link to their furniture products page. I start first with their 2L grit and finish with 16 grit (I’m not sure what the numbering system means in terms of grit). I smear a small amount of the polishing paste onto a buffing pad (the ones I use are by SurBuf; I get their 7″ diameter discs and dedicate one to each of the different polishing pastes) then apply the discs to the bottom of my 6″ random orbit sander, which is outfitted for hook and loop discs. I also dedicate another disc for waxing and a separate one for clear buffing.
Thanks for the info, just what I need for my next step
Any suggested brand of Beeswax? Most descriptions I see don’t list that the product does not have grit or dries hard
Sorry, but I don’t see an attached photo that shows the Menzerna products, or a specific link to the furniture products page. Have I missed this somewhere?
Thanks for your patience. Trying to nail down the small details.
Greg – I don’t have a specific recommendation for a brand of Beeswax. Frankly, the use of Beeswax is a preference of Marty’s, and I honored his information, but I personally do not use Beeswax on my finishes. If a wax is required I lean towards microcrystalline wax such as Renaissance Wax.
Here’s the link for Menzerna-USA: https://www.menzerna.com/service/dealer-search
Thanks so much for sharing! What was that link for the Menzerna products?
Here’s the link to the main Menzerna-USA page.
https://www.menzerna.com/service/dealer-search